Hi all, [smakeupfx] here,
I get asked fairly often about simple instructions for making small figure sculptures, or Maquettes. Molds and mold making techniques, and random questions on materials and tricks. I'll keep adding to this page as I think of things or in answering your questions.
Maquettes are one of my favorite kinds of jobs. It's all fun and no molds or multiple fabrication. That stuff gets to seem an awful lot like work ;-) They are often small figure sculptures made as one of a kind art, character design "sketches" or a starting point for CG modeling.
What you will need
Polymer Clay - I use SuperSculpy, but fimo, sculpy or any other brand will work and each has it's pros and cons.
Epoxy putty - you can pick this up at almost any hardware store. It's a two part clay-like putty that will cure in 5 to 15 minutes when mixed together. You can also use more professional materials like Magic-Sculpt, it's a very strong epoxy putty that has a working time of 5 or so hours and fully cures in 24 hours (less if you heat it a bit ;-) Pick up some 5-minute epoxy glue too, it's useful in putting things together later.
Aluminum armature wire - I use several different sizes of this, but you have to have it. Copper wire or clothes hanger wire will work in a pinch. It's just harder to adjust the pose and bend.
Sculpting tools - Your hands are the best tools you have, and you can make your own sculpting tools pretty easily or just use whatever you can find (I still do). Cheap sculpting tools work just as well as expensive ones, I often get some of those little plastic kids paint brushes and heat one end with a lighter and shape it while hot when I need a special tool for something.
Step by step
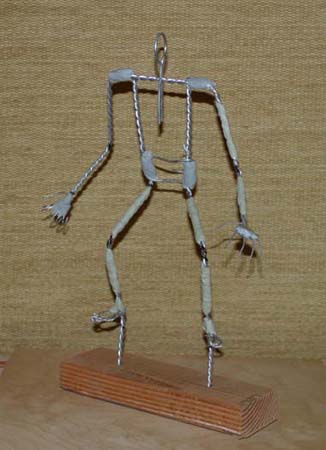
First, get your idea sketched out 1 to 1 flat out on a piece of paper. Use that as a template for constructing the wire frame armature. Lay the wire on the paper and bend it until it centers the form you will be sculpting. This step really saves a lot of time and material. It's hard to get arms and legs proportioned right in wire frame without a guide since you're centering the wire in the form not re-creating the form... if that makes any sense. I also like to make the head so it can come off. pretty easy to do, just wrap some wire around the neck stalk so the head piece will slide in and out. Then you can focus on the head and when you get it just right, cook it so you can't bump it and mess up hours of work. For thicker pieces, twist two wires (or more) together, helps it not break as easily and the clay and putty sticks better.
Here is a piece I did from start to finish. The armature is bent from wire and that is glued down to a piece of wood with 5 minute epoxy. For bigger shapes, you can wrap the wire with some aluminum foil to fill it out and save you money and clay.
Next, mix up the epoxy putty and cover the wire with a thin coat. Make sure you leave room for clay on top of this (you can cut the epoxy away later if this happens in a place or two, no big deal really).
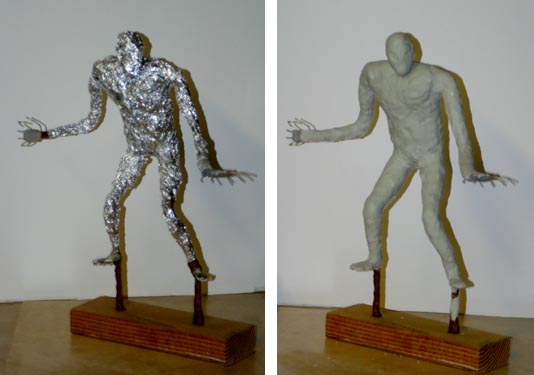
When the epoxy sets, you can start. I use SuperSculpy. If it's fresh (not sitting on the store shelf for years) you can just start adding. If it is crumbly, you can add a few drops of Mineral Oil and mix it up until it's the right consistency. Just start adding clay, getting the shape roughed out.
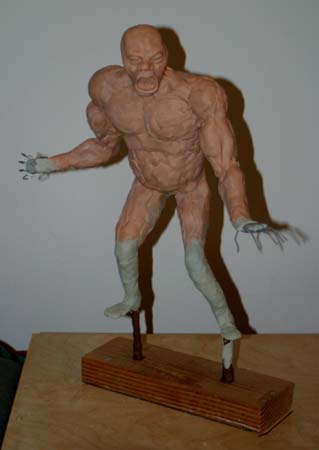
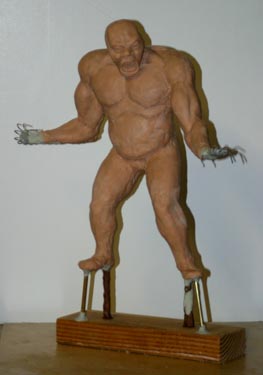
I like to get things roughed out, all the proportions the way I want them, then start finishing the most detailed parts, like the head, separately. When I get them just the way I want them I cook it. You cook sculpt in your home oven, follow the directions on the clay and watch it closely, if it starts to turn purple turn it off! don't over cook polymer clays, they put off toxic fumes then.
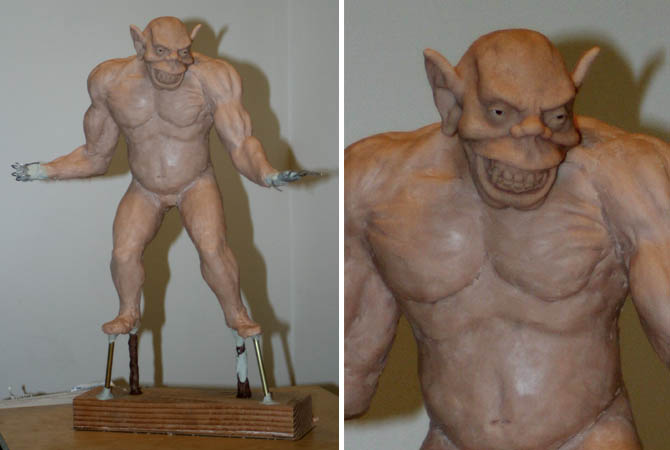
You can add more clay on top of clay already cooked, then sand or cut or carve...cook again, add more clay. It's a great way to work, and lets you keep adding details without messing up the ones you already finished.
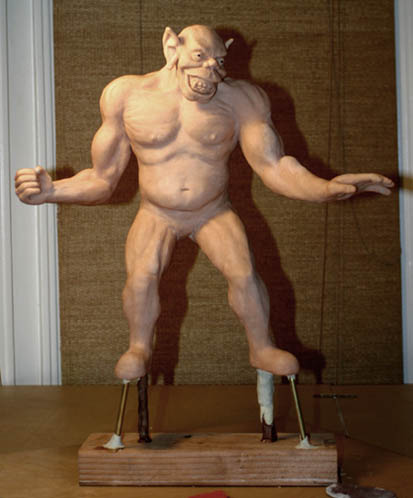
When it's all done, give it a coat of Krylon Primer Paint (really it's the best...worth it to find, cheap stuff will clump, drip, come out of the can with a bad texture, or any number of BAD things when you're put in 60 hours on a sculpt. (and it's really not much cheaper). If Krylon isn't available where you live, ask at a paint store for the best primer paint they carry.

Once primed you can paint with anything. I often use acrylics, with washes made from acrylics mixed with alcohol, and then maybe some oil paints (they are great for gradations and the like.
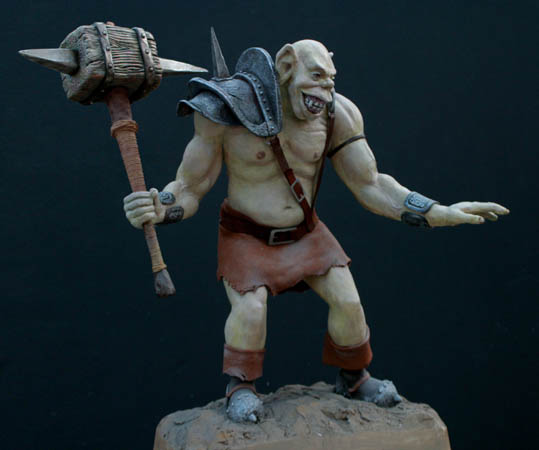
There ya go man, hope that helps. If you have any questions or problems, I'd be happy to help if I can. Have fun and make some stuff!
 Stumble!


